分类标签归档:tensorflow

基于facenet的人脸识别

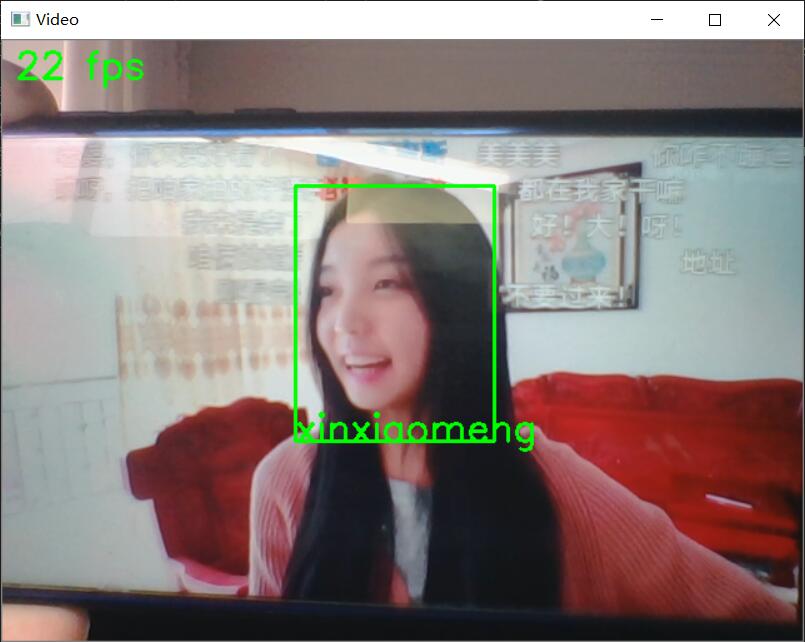
效果

up主:欣小萌 image

数据准备

  1. 可以使用爬虫爬取你需要的人脸图片数据,需要手动剔除没用图片
  2. 可以使用视频提取图片的方式。我采用bilibili下载视频,然后等时间间隔的切出几十张图片。尽量选择人脸出镜率高的up主。

视频切出图片的代码:/article/2020/3/12/77.html
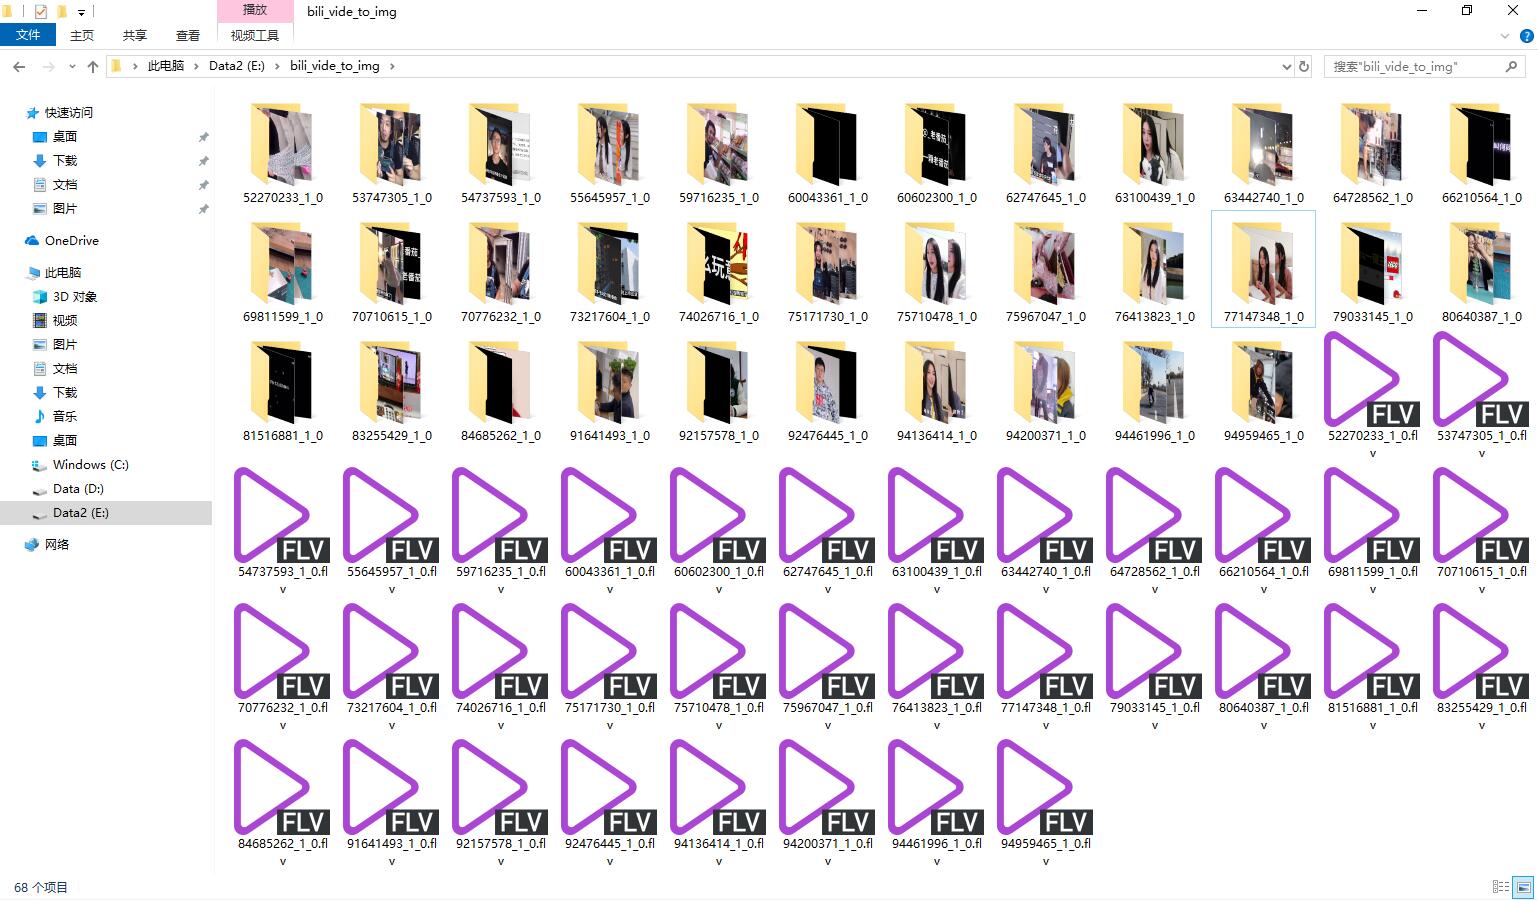
image

下载facenet

去github上下载facenet,并且下载作者训练好的模型,如果模型下载不下来,我这有百度网盘地址。

开始训练

首先切换到你的工作环境(工作目录,虚拟环境等)。

目录文件介绍

  1. facenet-master/image_test 该目录为实验目录,用作对比人脸图片之间的欧氏距离,
阅读全文 →

目标检测基础知识

目标检测

卷积介绍

1*1卷积

作用:

  • 增加非线性,使网络可以表达更复杂的特征
  • 特征降维,减少参数和计算量

空洞卷积

空洞卷积提供了更大的感受野,可以得到更大的特征图,有助于小物体的识别和分割。

转置卷积

上采样,让小图变成大图

目标检测简单方法介绍

传统方法

滑动窗口+传统机器学习分类器

  1. 识别效果差,准度低
  2. 计算量大,运算速度慢
  3. 会出现多个正确结果

滑动窗口+卷积神经网络CNN

与上面方法对比仅提高了识别准确率

全卷积神经网络FCN

对于一个各层参数结构都设计好的神经网络,输入图片的大小都是固定的,如Alexnet、Net,VGGNet,GoogleNet等网络。

FCN的精髓就是让

阅读全文 →

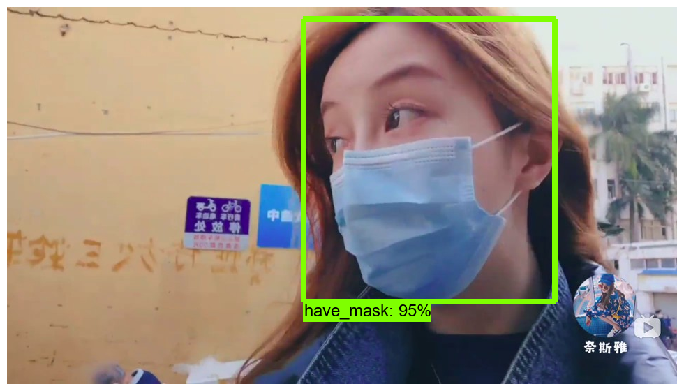
基于tensorflow目标检测API的口罩检测模型

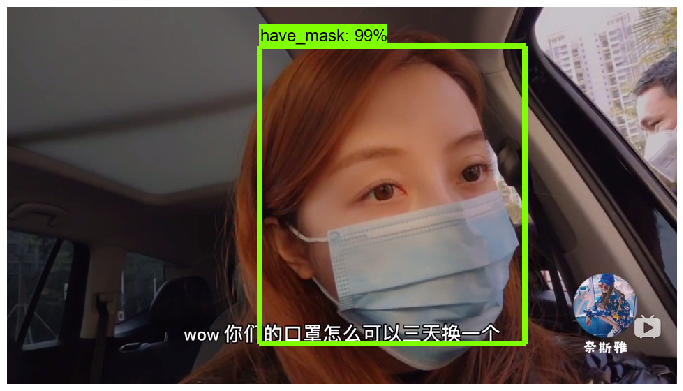
效果预览

image

image

以下内容是tensorflow目标检测官方demo,用于测试自己训练好的模型

Object Detection Demo

Welcome to the object detection inference walkthrough! This notebook will walk you step by step through the process of using a pre-trained model to detect objects in an image. Make sure to follow the installation instructions befor

阅读全文 →

基于tensorflow目标检测API训练自己的目标检测模型

准备

  1. 准备数据集,做好标注。把下载好的tensorflow的迁移训练文件(object_detection)放到工程目录下。使用labelImg工具标注
  2. xml转换到csv

因为用于训练的.record格式文件时用的是csv格式文件,可以通过xml_to_csv.py程序处理,其中xml_df = xml_to_csv(image_path) 其中image_path为xml目录路径。

安装pandas后,运行xml_to_csv.bat文件,会生成label.csv文件。

  1. 生成tfrecord格式文件

generate_tfrecord.py用于生成自己的tfrecord格式文件,

阅读全文 →

05-使用训练好的分割模型

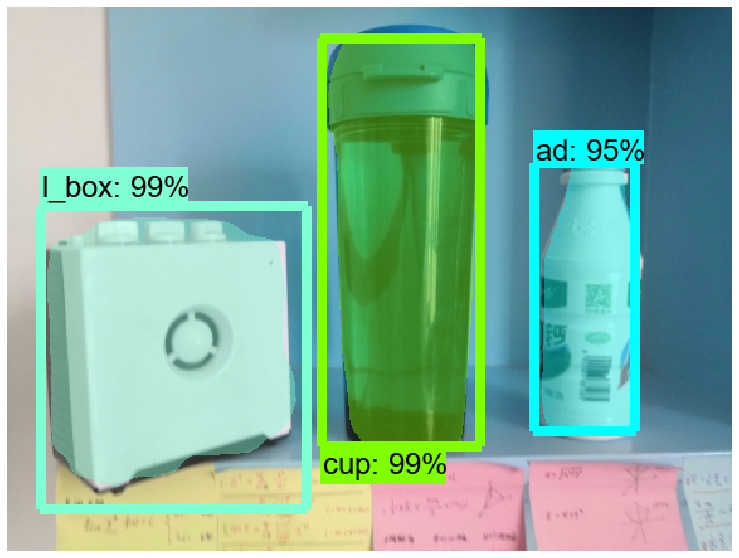
效果图

image

以下内容为tensorflow官方测试代码,仅用于测试自己模型训练的效果,不是训练代码

导包

import warnings
warnings.filterwarnings("ignore")
import numpy as np
import os
import six.moves.urllib as urllib
import sys
import tarfile
import tensorflow as tf
import zipfile

from distutils.version import StrictVersion
from collections import 

阅读全文 →

04-使用训练好的分割模型

mask_rcnn_inception_v2_coco.config

# Mask R-CNN with Inception V2
# Configured for MSCOCO Dataset.
# Users should configure the fine_tune_checkpoint field in the train config as
# well as the label_map_path and input_path fields in the train_input_reader and
# eval_input_reader. Search for "PATH_TO_

阅读全文 →

03-使用训练好的分割模型

string_int_label_map_pb2.py

# Generated by the protocol buffer compiler.  DO NOT EDIT!
# source: object_detection/protos/string_int_label_map.proto

import sys
_b=sys.version_info[0]<3 and (lambda x:x) or (lambda x:x.encode('latin1'))
from google.protobuf import descriptor as _descriptor
from goo

阅读全文 →

02-使用训练好的分割模型

export_inference_graph.py

# Copyright 2017 The TensorFlow Authors. All Rights Reserved.
#
# Licensed under the Apache License, Version 2.0 (the "License");
# you may not use this file except in compliance with the License.
# You may obtain a copy of the License at
#
#     http://www.apache.org/licen

阅读全文 →

01-使用训练好的分割模型

下载模型

地址: https://github.com/tensorflow/models/blob/master/research/object_detection/g3doc/detection_model_zoo.md

# 这个模型速度快 轻量级
http://download.tensorflow.org/models/object_detection/mask_rcnn_inception_v2_coco_2018_01_28.tar.gz

训练自己的分割模型

1. 准备好训练图片

  • 训练集的图片必须小于1M,手机拍摄的原图会让CPU内存爆炸

  • 标注产生的json文件必须和标图片在一

阅读全文 →

keras和tensorflow简单对比

线性模型

tensorflow

构建模型

# 构建一个线性模型
d = tf.Variable(np.random.rand(1))  # 截距
k = tf.Variable(np.random.rand(1))  #斜率
y = k*x_data + d  # 映射函数

网络设置

# 二次代价函数
loss = tf.losses.mean_squared_error(y_data, y)
# 定义一个梯度下降法优化器
optimizer = tf.train.GradientDescentOptimizer(0.4)  # 经测试0.3~0.7之间较合适
# 最小化代价函数
train

阅读全文 →