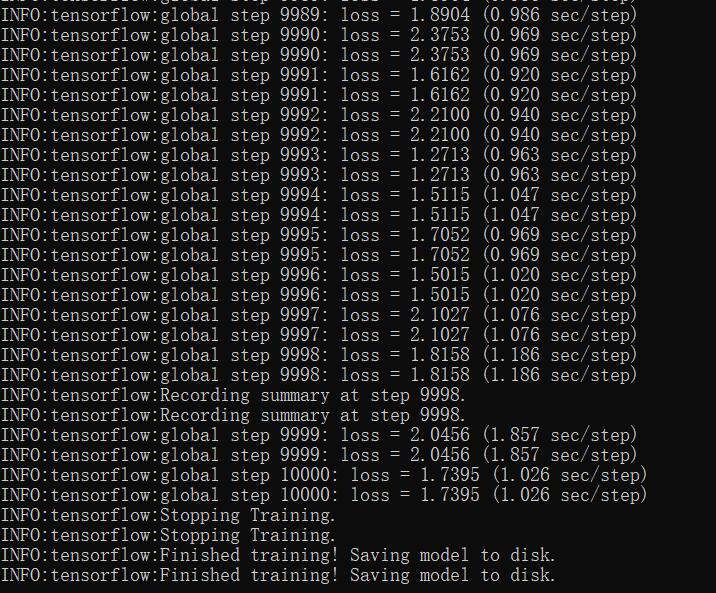
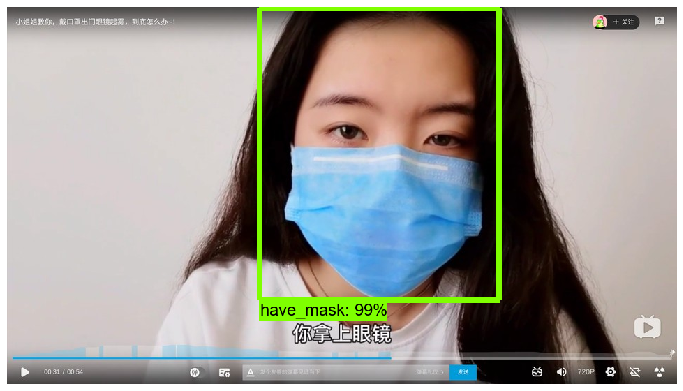
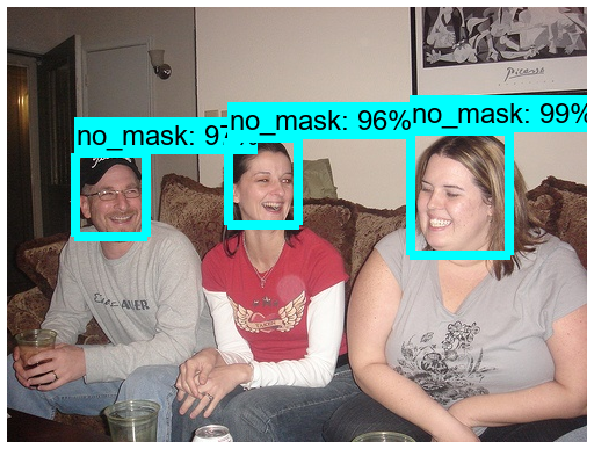
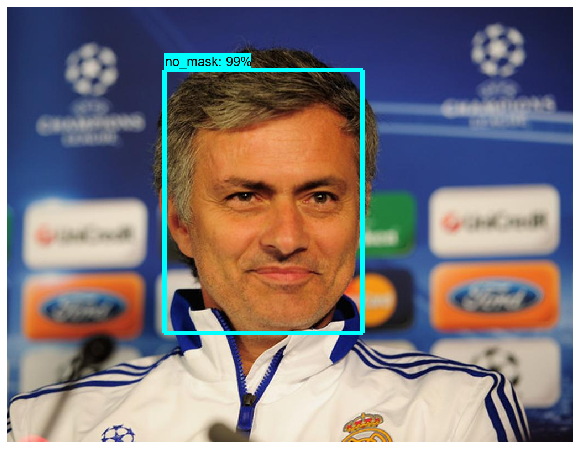
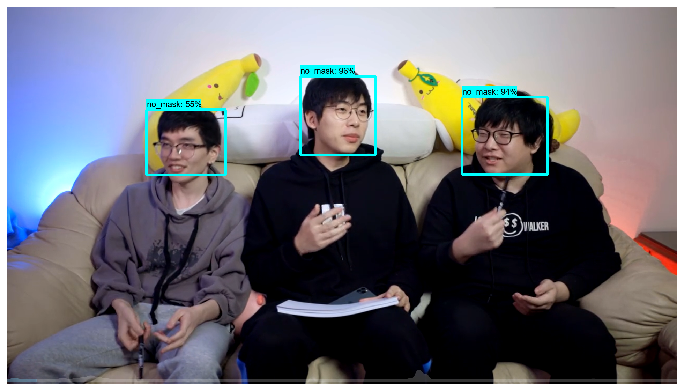
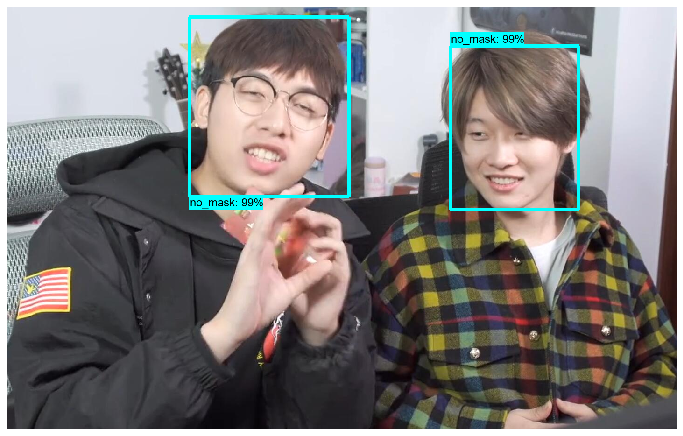
效果预览
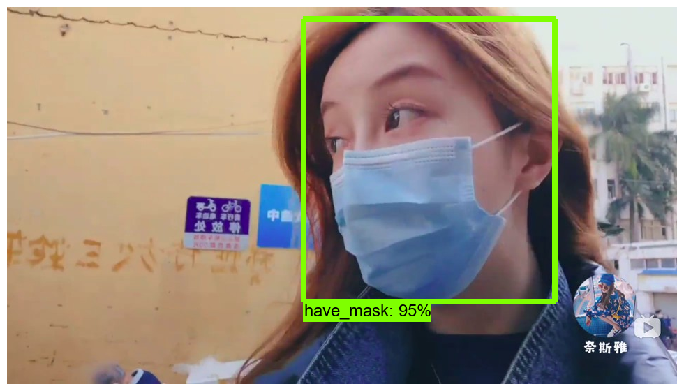
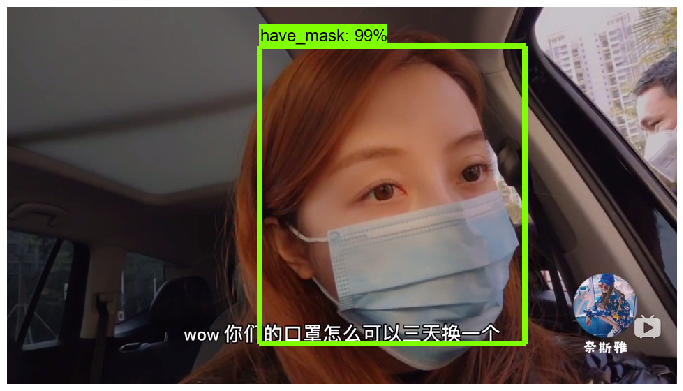
以下内容是tensorflow目标检测官方demo,用于测试自己训练好的模型
Object Detection Demo
Welcome to the object detection inference walkthrough! This notebook will walk you step by step through the process of using a pre-trained model to detect objects in an image. Make sure to follow the installation instructions before you start.
import warnings
warnings.filterwarnings("ignore")
import numpy as np
import os
import six.moves.urllib as urllib
import sys
import tarfile
import tensorflow as tf
import zipfile

from distutils.version import StrictVersion
from collections import defaultdict
from io import StringIO
from matplotlib import pyplot as plt
from PIL import Image

# This is needed since the notebook is stored in the object_detection folder.
sys.path.append("..")
from object_detection.utils import ops as utils_ops

# tf版本需要大于1.9
if StrictVersion(tf.__version__) < StrictVersion('1.9.0'):
    raise ImportError('Please upgrade your TensorFlow installation to v1.9.* or later!')
Env setup
# 在jupyter里面显示图片
%matplotlib inline
Object detection imports
Here are the imports from the object detection module.
from utils import label_map_util

from utils import visualization_utils as vis_util
Model preparation
Variables
Any model exported using the export_inference_graph.py tool can be loaded here simply by changing PATH_TO_FROZEN_GRAPH to point to a new .pb file.
By default we use an "SSD with Mobilenet" model here. See the detection model zoo for a list of other models that can be run out-of-the-box with varying speeds and accuracies.
# 模型名称
MODEL_NAME = 'ssd_mobilenet_v1_coco_2017_11_17'
MODEL_FILE = MODEL_NAME + '.tar.gz'
# 下载地址
DOWNLOAD_BASE = 'http://download.tensorflow.org/models/object_detection/'

# pb模型存放位置
PATH_TO_FROZEN_GRAPH = MODEL_NAME + '/frozen_inference_graph.pb'

# coco数据集的label映射文件
PATH_TO_LABELS = os.path.join('data', 'mscoco_label_map.pbtxt')
Download Model
# 下载文件
opener = urllib.request.URLopener()
opener.retrieve(DOWNLOAD_BASE + MODEL_FILE, MODEL_FILE)
# 解压文件
tar_file = tarfile.open(MODEL_FILE)
for file in tar_file.getmembers():
    file_name = os.path.basename(file.name)
    if 'frozen_inference_graph.pb' in file_name:
        tar_file.extract(file, os.getcwd())
Load a (frozen) Tensorflow model into memory.
# 载入训练好的pb模型
detection_graph = tf.Graph()
with detection_graph.as_default():
    od_graph_def = tf.GraphDef()
    with tf.gfile.GFile(PATH_TO_FROZEN_GRAPH, 'rb') as fid:
        serialized_graph = fid.read()
        od_graph_def.ParseFromString(serialized_graph)
        tf.import_graph_def(od_graph_def, name='')
Loading label map
Label maps map indices to category names, so that when our convolution network predicts 5, we know that this corresponds to airplane. Here we use internal utility functions, but anything that returns a dictionary mapping integers to appropriate string labels would be fine
# 得到一个保存编号和类别描述映射关系的列表
category_index = label_map_util.create_category_index_from_labelmap(PATH_TO_LABELS, use_display_name=True)
Helper code
# 把图片数据变成3维的数据,定义数据类型为uint8
def load_image_into_numpy_array(image):
    (im_width, im_height) = image.size
    return np.array(image.getdata()).reshape((im_height, im_width, 3)).astype(np.uint8)
Detection
# 目标检测
def run_inference_for_single_image(image, graph):
    with graph.as_default():
        with tf.Session() as sess:
            # 获得图中所有op
            ops = tf.get_default_graph().get_operations()
            # 获得输出op的名字
            all_tensor_names = {output.name for op in ops for output in op.outputs}
            tensor_dict = {}
            for key in [
              'num_detections', 'detection_boxes', 'detection_scores',
              'detection_classes',
            ]:
                tensor_name = key + ':0'
                # 如果tensor_name在all_tensor_names中
                if tensor_name in all_tensor_names:
                    # 则获取到该tensor
                    tensor_dict[key] = tf.get_default_graph().get_tensor_by_name(
                      tensor_name)
            # 图片输入的tensor
            image_tensor = tf.get_default_graph().get_tensor_by_name('image_tensor:0')

            # 传入图片运行模型获得结果
            output_dict = sess.run(tensor_dict,
                             feed_dict={image_tensor: image})

            # 所有的结果都是float32类型的,有些数据需要做数据格式转换
            # 检测到目标的数量
            output_dict['num_detections'] = int(output_dict['num_detections'][0])
            # 目标的类型
            output_dict['detection_classes'] = output_dict[
              'detection_classes'][0].astype(np.uint8)
            # 预测框坐标
            output_dict['detection_boxes'] = output_dict['detection_boxes'][0]
            # 预测框置信度
            output_dict['detection_scores'] = output_dict['detection_scores'][0]
    return output_dict
for root,dirs,files in os.walk('test_images/'):
for image_path in files:
# 读取图片
image = Image.open(os.path.join(root,image_path))
# 把图片数据变成3维的数据,定义数据类型为uint8
image_np = load_image_into_numpy_array(image)
# 增加一个维度,数据变成: [1, None, None, 3]
image_np_expanded = np.expand_dims(image_np, axis=0)
# 目标检测
output_dict = run_inference_for_single_image(image_np_expanded, detection_graph)
# 给原图加上预测框,置信度和类别信息
vis_util.visualize_boxes_and_labels_on_image_array(
image_np,
output_dict['detection_boxes'],
output_dict['detection_classes'],
output_dict['detection_scores'],
category_index,
use_normalized_coordinates=True,
line_thickness=8)
# 画图
plt.figure(figsize=(12,8))
plt.imshow(image_np)
plt.axis('off')
plt.show()注: 有时候pyplot不显示图
# 如运行如下代码显示 agg 可能有问题
import matplotlib
matplotlib.get_backend()
加入下代码解决:
# 在jupyter里面显示图片
%matplotlib inline
结果:
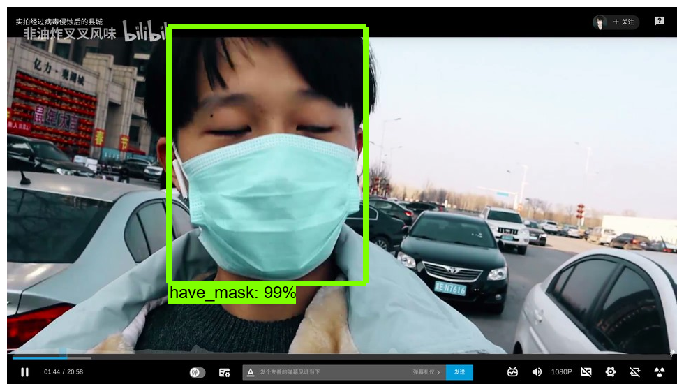
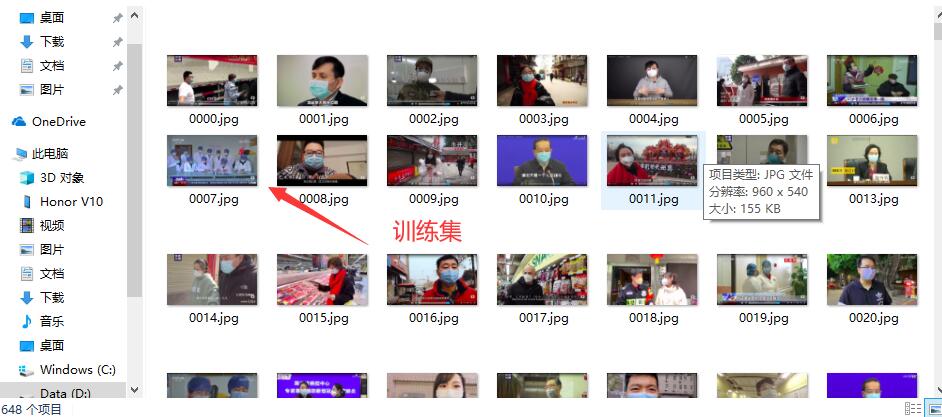
训练集内容
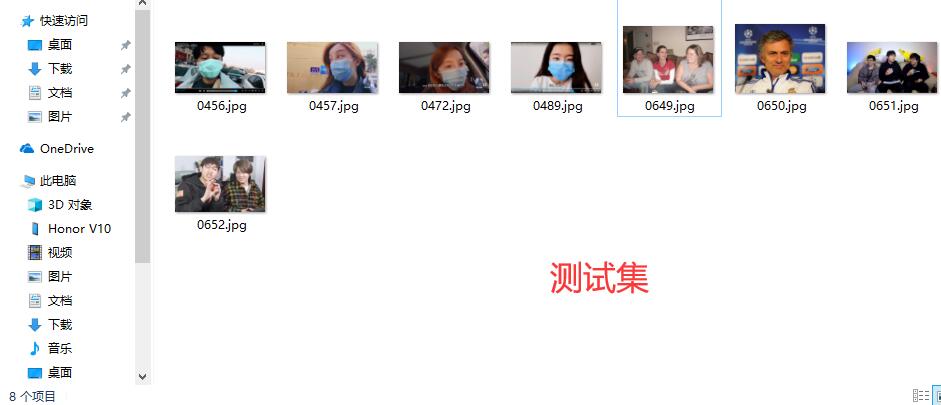
验证集内容
训练10000次 模型的loss情况